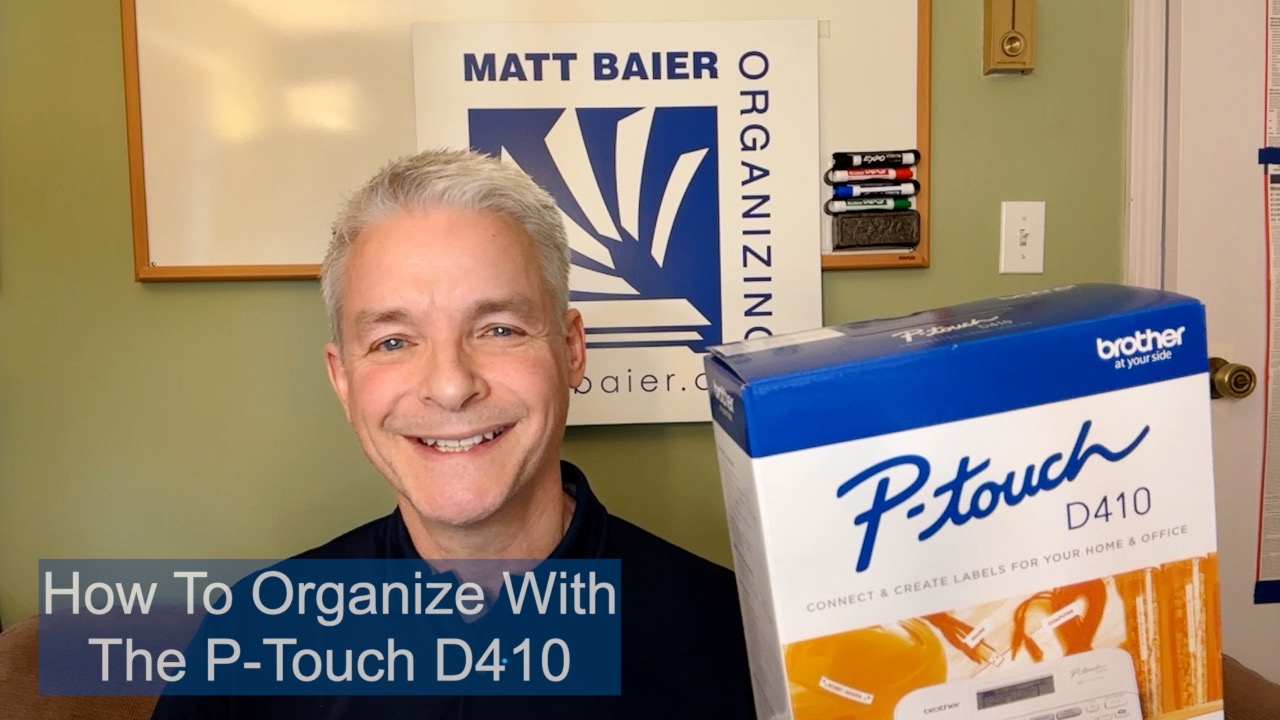
This will be a look at how to organize with the P-Touch D410 and much more. The P-Touch D410 was introduced in July 2022, so I’m certainly not getting it hot off the press. I am going to do a bit of a product review, but mostly I want to talk about how to use it on an organizing project. So if you have a specific feature or product questions you might be better off with one of the videos from Brother or P-Touch Direct about the P-Touch D410. My focus will be more on the practical usage.
Unboxing and instructions
When you unbox your P-Touch D410 you will find a few accessories: the AC Adapter, USB cable if you want to connect with your computer, and a starter tape cassette. Usage is simple: Press the power button, enter your desired text, preview, print, and cut. Voila! However, if you run into any difficulty, you will also find a manual of operation instructions that can answer any specific questions you may have. First, the manual covers product safety and regulation. Then, it explores the LCD display and the keyboard. Next there’s an explanation of the batteries and AC adapter. This is followed by information on the tape and how to preview and print. The next section explains how to print from your computer and how to download the Brother P-Touch mobile application. On the other side they go more in depth into basic operations, cover symbol and frame options, and then setting margins.
Label management
I want to take a moment with this. Older machines would leave a large margin on each side, which seems wasteful. The P-Touch D410 cuts off a small piece of the label and that seems wasteful. The reason is because it’s necessary to advance the label into position so that you don’t have the wide margins on both sides. So you can now print multiple labels without wasteful margins and that’s when it starts to make sense. The P-Touch D410 doesn’t feature an automatic scissor option as some past models have. After you clear the text you have to choose the option of delete with or without changing format. In most cases you’ll choose without. The maximum label width is ¾ inch or .7mm, which is perfect for most projects throughout the home.
D-410 vs. Cube
This brings me to a comparison with the Brother P-Touch Cube, which I have done a video on. The P-Touch Cube can print on an inch-wide label. I find this size to be particularly useful in the kitchen and pantry. Another feature that makes the Cube good for the kitchen/pantry is that it tends to be the area requiring the most font options. With the Cube’s blue tooth connection to your mobile device, you can access unlimited font choices. If you are taking on an organizing project throughout your home like my team does, we tend to favor the more portable P-Touch D410.
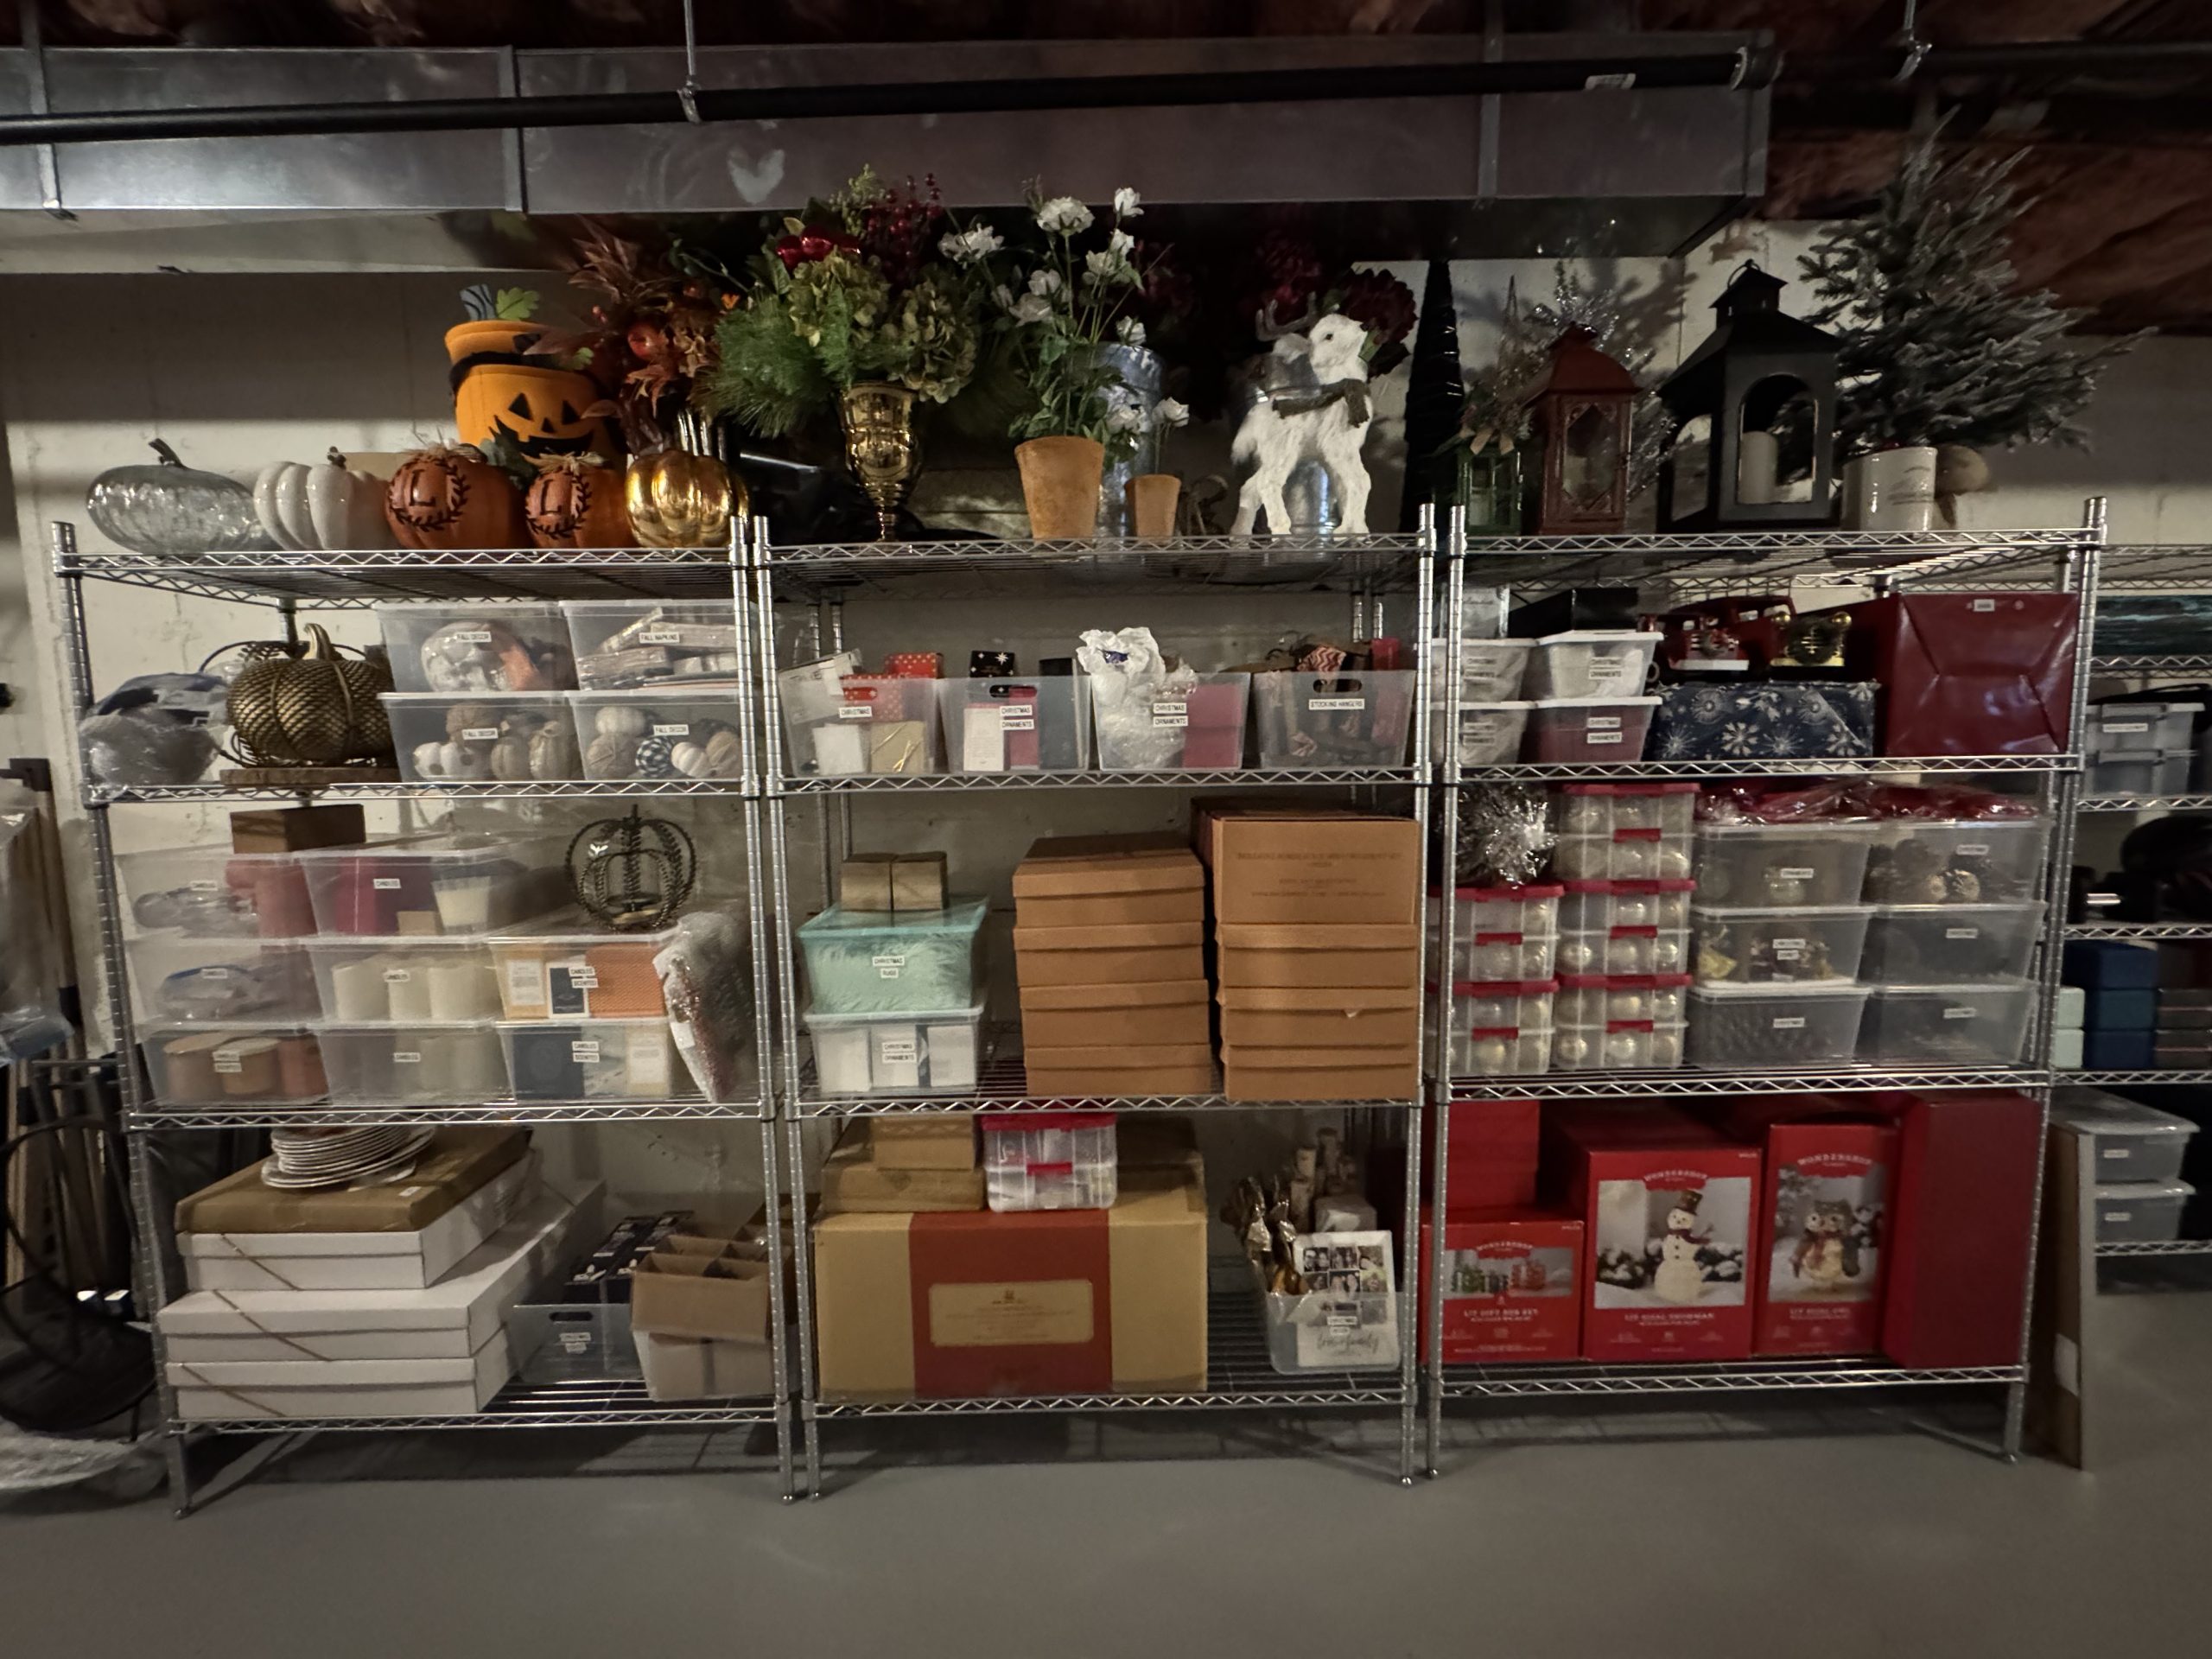
For large storage projects, like the garage and basement, you can move from bin to bin more easily with the P-Touch D410. Same with file-to-file in the home office, using ½”label. One odd thing about P-touch labels that may arise, is the difference between TZ and TZe labels. If you’ve been using an old machine and you have some TZ tapes left over, unfortunately they will not work with these newer models.
How much to label
One thing I don’t think you will hear from Brother is how much to label. A client shared a recent Wall Street Journal article that says don’t over-label. I agree. Don’t get too specific with things that may change over time. A “Snacks” label in your pantry is likely to be helpful, whereas a “Wise Potato Chips” label, probably not as practical. There’s a happy medium between over and under labeling. When assigning a label, think, will this be applicable long term? I also think there’s something to be said for using the label in conjunction with a clear container. Let the clarity do the talking and let the label close the deal. You may ask, is clarity alone enough? Not when the clear bin has been emptied. Now what do I need to get more of to refill this bin?
Label application
One thing that no P-Touch labeler has been able to do is ensure a perfectly level application. However, the label does have a built-in feature that helps; The split back. In the past, all labels had a one piece back, which was difficult to peel off. What I recommend with the split back is to remove the top piece and grip on to the lower piece when applying, so your fingers don’t stick to the label while you’re trying to finesse it. Find a central feature of the bin to center it, then shift the ends of the label up and down until it balances out on both ends. Then stick the label. Press in the middle and push outward. Now pull the lower covered part back, peel off the cover, press down in the middle and push outward. You should be centered and level.
Labeling is practical
If you’re familiar with my content and process, you know that I tend to favor the practical side of organizing, not the superficial. I believe good labeling is practical, because it helps make bin contents more findable and empty bin contents more replaceable. Also, frequency merits facility. The more often you use something, the easier it should be. Twice a day, I feed my little dog and this couldn’t be easier, thanks to labeled products in my home. Likewise with the hot beverages that I get (need) multiple times. I can also find my files in seconds because they are labeled. So good labeling IS practical and functional.
Please Share With Your Community


Related Posts


Testimonials
What some of our clients are saying

