Downsizing through the garage is my best piece of advice on downsizing. Starting with the garage not only makes sense for downsizing. It also makes things easier for a regular move or for getting your whole house organized. Yes, I know what the realtor is telling you when you are trying to sell your home. Get the living areas like the kitchen, entryway, study, and bedrooms photo ready. Those areas are important to showcase your home, but to make everything easier, start with the garage. Why?
1. Quick wins
There tends to be a lot of quick wins in the garage. You can edit these, as you might guess, quickly. Odds are good that you have items to donate or return, but now push has come to shove. Maybe you had items that wanted to repair, when you believed you had more time. Now that ship has sailed and you can toss those items.
2. Exit zones
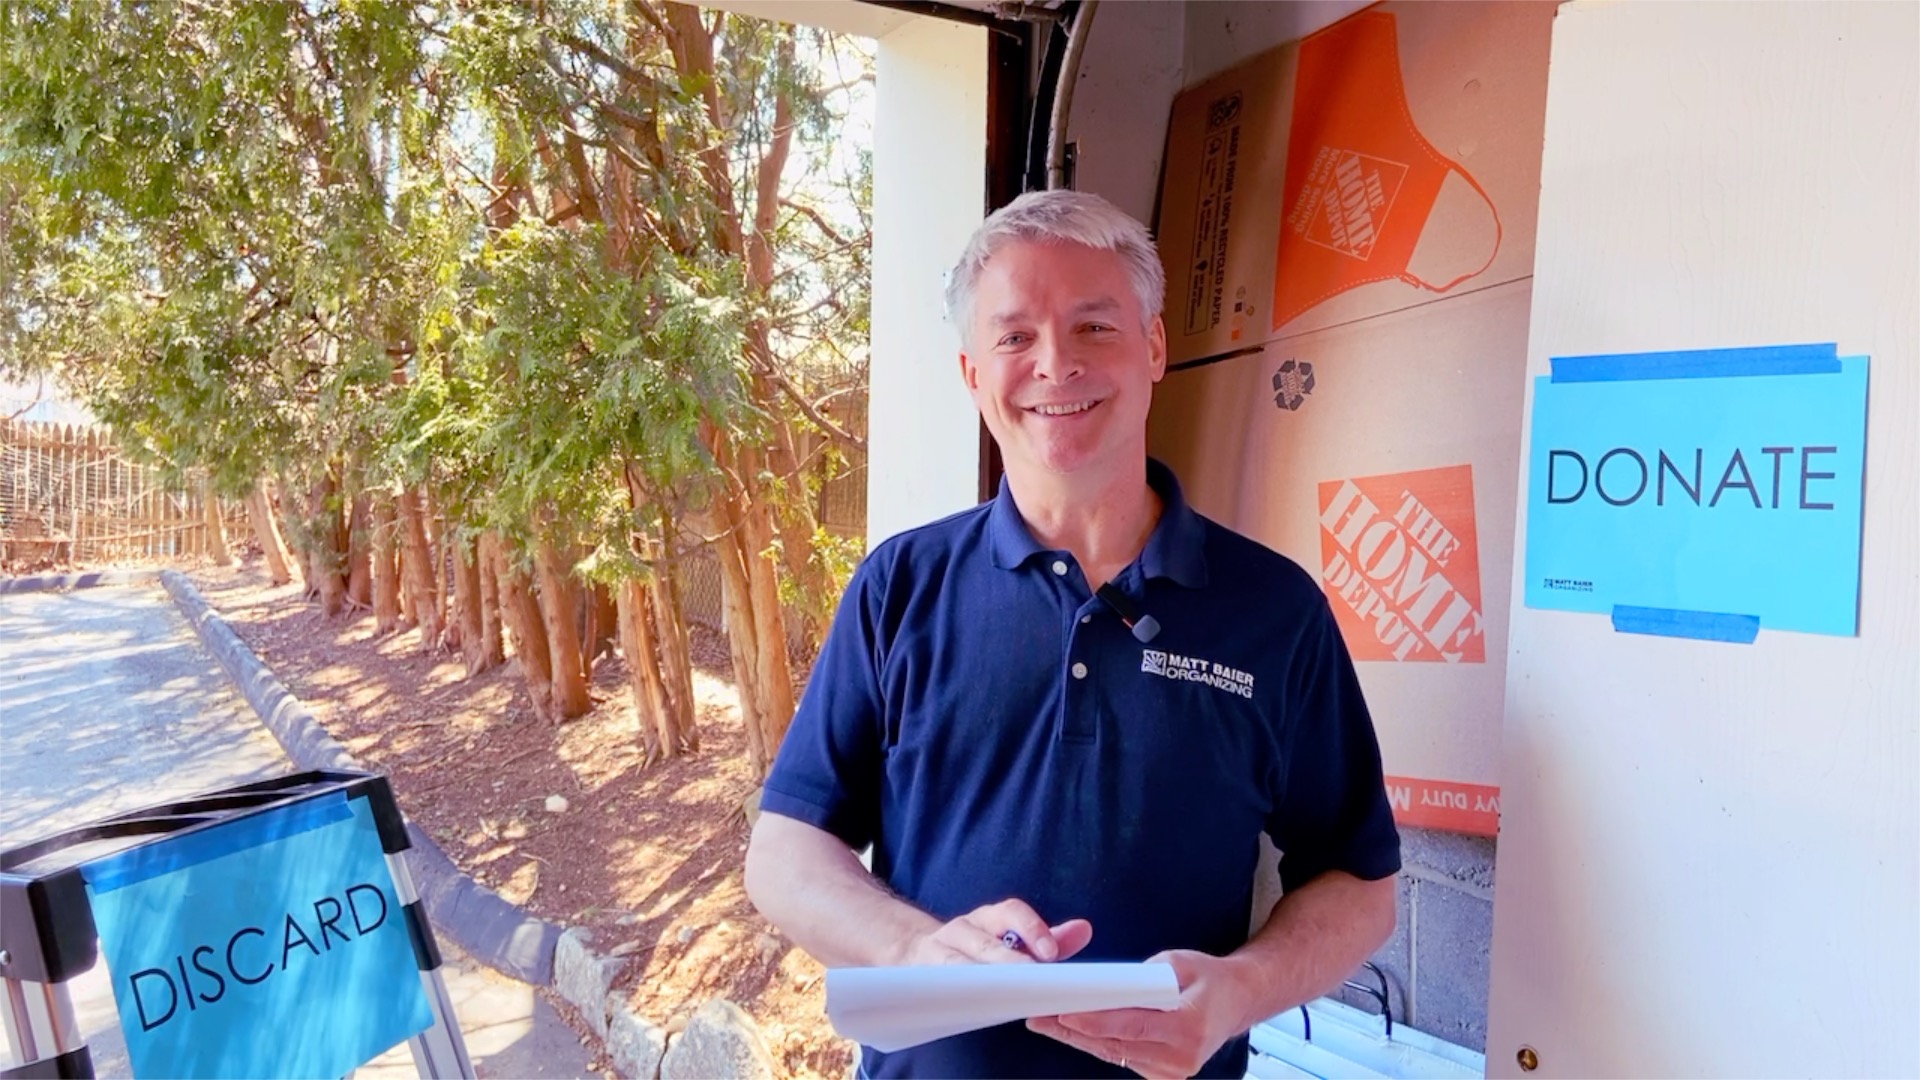
With the space you quickly open up, you can establish exit zones. I like to make these zones very clear, so everyone’s on the same page and mistakes don’t happen. Maybe you collect donates on one side and discards on the other side. Then all a truck has to do is back up to your garage and take it away. If you have a dumpster in the driveway, that can be your discard zone.
The garage keepers are actually in an exit zone too. You could call it the “moving zone,” because you are keeping these just until the move. Nothing that you are keeping is staying. After the garage, I would still hold off on the living areas and work on the basement. Why?
3. Sell Zone
The basement also tends to have a lot of postponed decisions, which are ready to go now. Discards and donates from the basement can now go to (and through) the garage. As a result you can start opening up space for the smaller items you might want to sell. This makes the next stages easier whether you are selling the items yourself or bringing in a specialist. It’s all in one place so you can see how much there is and assess the collective value.
I should say that each situation is a little different. If for example you plan on selling most of your possessions then you can skip the sell zone. You would probably want ant estate sale. Then your whole house becomes the sell zone. In either case you will probably want to sell items after you make your home photo-ready. Eliminating everything before you take listing photos is not helpful. That’s because an empty shell is less inviting than a (moderately) furnished home. One thing that I have found consistent in each case however is this. Before you start editing your stuff, it’s important that you understand it needs a place to go.
4. Editing strategy
Now that you have the exit zones, let’s look at the editing strategy. On each floor it makes sense to start with a room that would make a good processing area. A dining room is often a good candidate. Always start with a processing table. It could could be a dining table or a folding table. Whatever the case the table should never be used for storage, just processing. Next bring all items to be reviewed to one side of the room in the Review zone. Sort like with like as much as possible. Review one category at a time on your processing table. Then sort by discard, donate, sell, or keep to move.
When the review zone empties, the other side of the room will fill up. It will have the discards and donates go to the garage and the sells go to the basement.
5. Give-to zone
You may also want a Give-To category. Unlike Donate, this is for items for which you have someone specific in mind. Set a time limit on the assignment label. If you don’t get the item to that person in time, the item then goes to the donate or sell zone.
You should start this editing process with the garage itself. I recommend clearing your driveway for it. Want that satisfying feeling of going through your house room by room and checking them off, one by one? Then you need to secure a place for the excess items to go. That’s why I recommend downsizing though the garage. As for resources to take the excess away, we’ll cover that next month for Moving month.
Please Share With Your Community


Related Posts


Testimonials
What some of our clients are saying

