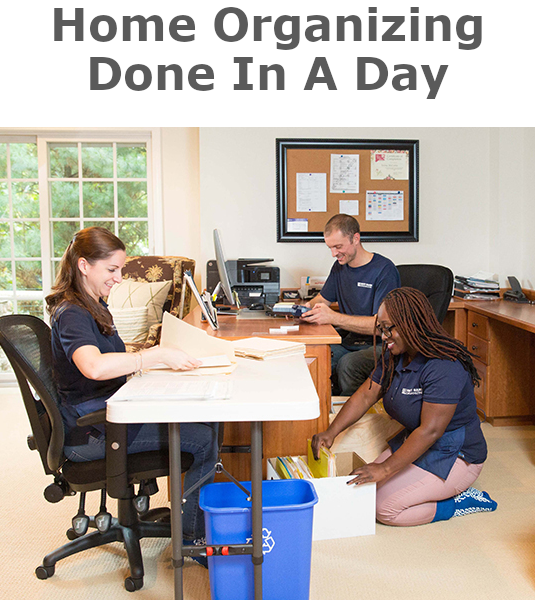
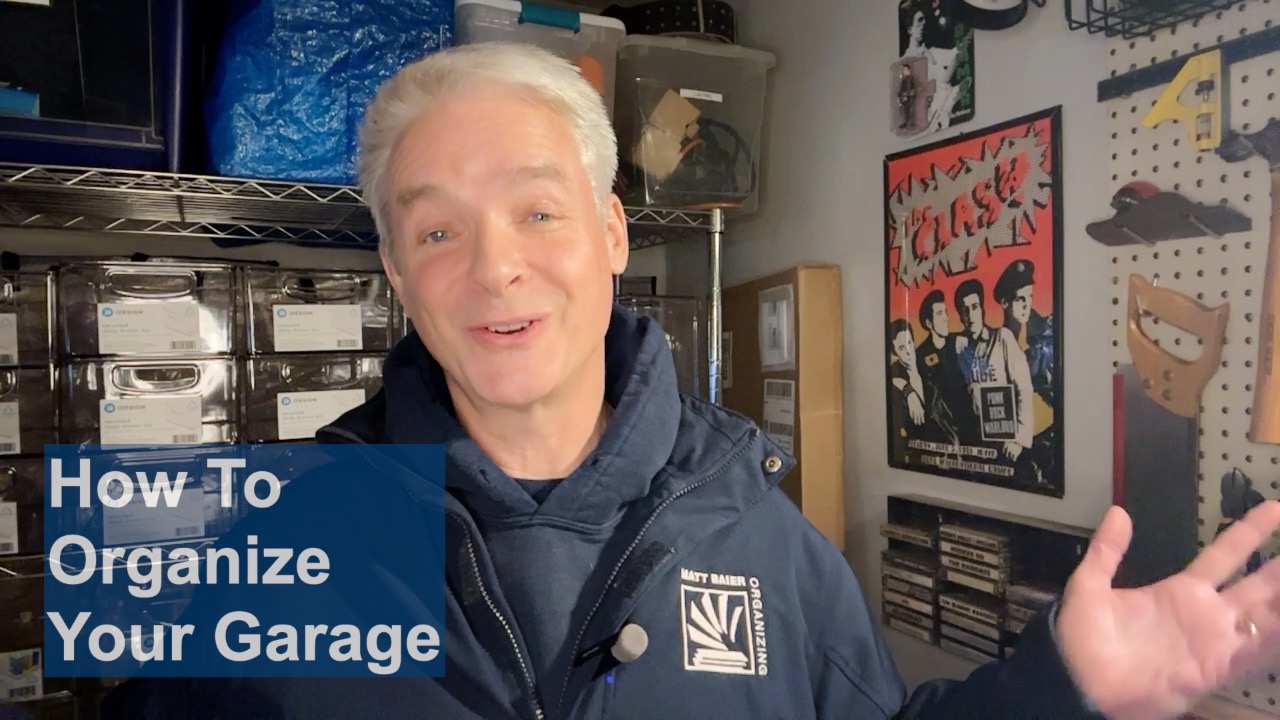
Want to know how to organize like the pros? Recently we filmed a session of our team organizing a garage. We also decided to do a time-lapse video to demonstrate that it all happened inside one 6 hour day. I took the opportunity to point out the zones we created and the procedure we used. It all happens very quickly in the video (below). So I will spell out how to organize more completely here.
1. Enlist some help
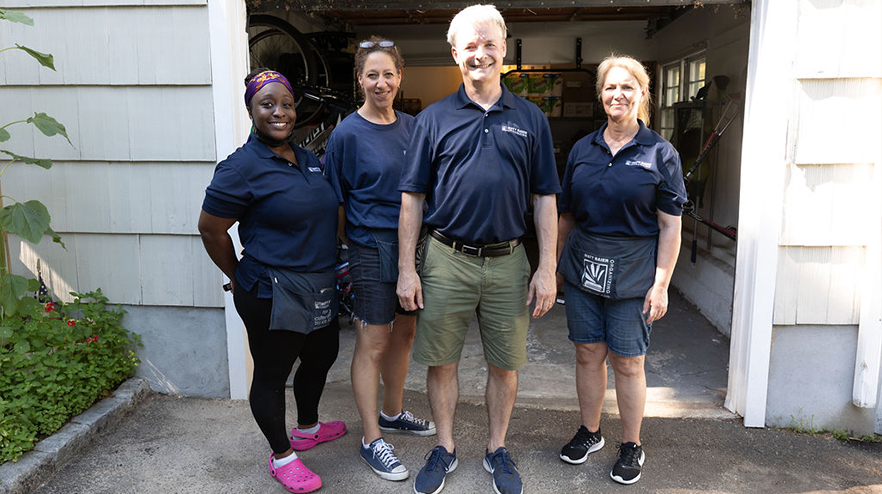
A project like this garage would be impossible to do alone in 6 hours. We wouldn’t take it on without a three organizers team. So seek help from family and friends. It is important to note that family and friends can be well-intentioned, but do more harm than good. So be sure to share with them your plan and guidelines that I am spelling out here.
2. Establish a processing area
You can’t clean a mess IN a mess. You will notice in our video that we started with a clear driveway. We all parked our cars elsewhere. If you are organizing a cluttered home office, you might want to do it in the room next door. You need a lot of space to spread out and shift from zone to zone. We place a 2’x4’ “decision table front and center of every processing area.
3. Create and fill a Review Zone
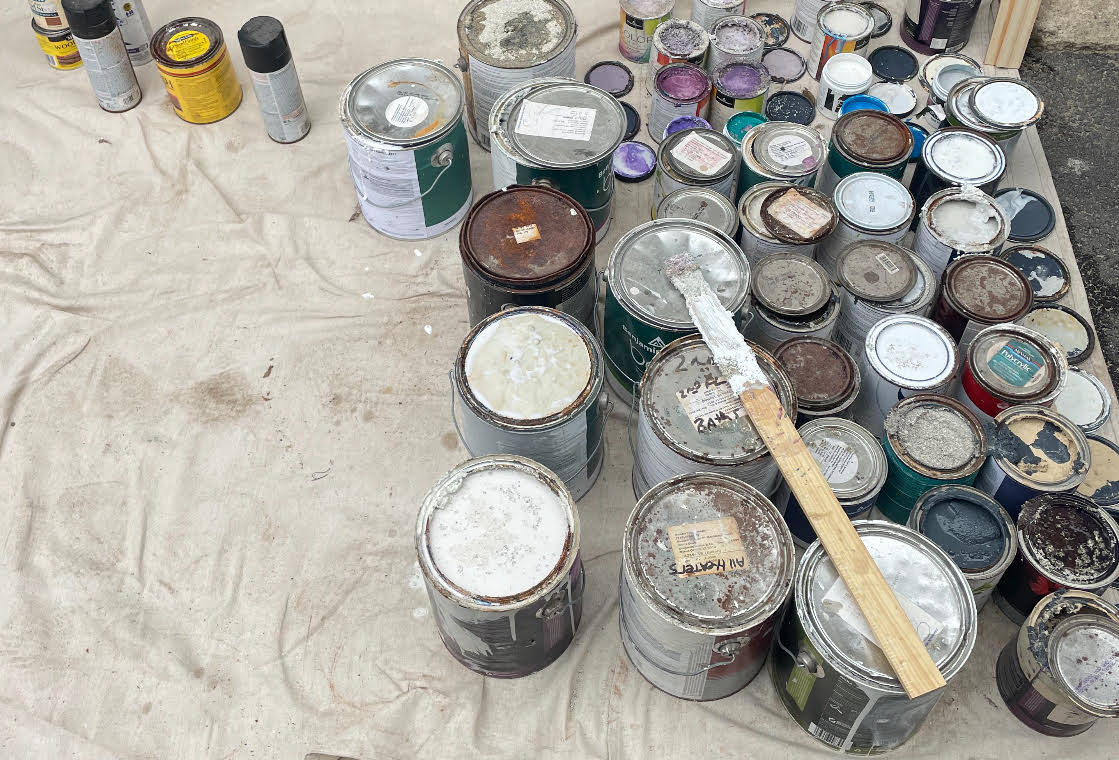
Avoid the temptation to just dive into the clutter and start throwing things out. Establish a Review Zone to the left of the decision table to collect all contents. Sort before you review, because context drives decisions. Just sort by major categories. Don’t overthink it. In the garage for example, there are typically the categories of sports, gardening, auto, toys, tools, utility, and supplies. At the front of the Review Zone, hold all the potential junk. We call these candidates “possible possibles.” Don’t get derailed with decision making yet. You’ll get your chance soon enough. Instead bring full focus to emptying the garage or room and sorting by category. We often find boxes of paper in garages. Those should always go to the end of the Review Zone.
4. Create an Empties Zone
This is something you might not think of. When sorting by category it is always easier to have some small empty boxes handy. We like banker boxes because they have lids which makes it easier to stack and save floor space. Bins and boxes that get emptied during the review also go in the Empties Zone. Find a spot away from the Review Zone and Keep Zone.
5. Create zones for Keep, Discard, Donate, and Sell
The Keep Zone starts as empty. It is an empty zone designated to temporarily hold keepers as you review. Beyond the Keep Zone, there should be Discard, Donate and Sell Zones. For unwanted items these zones keeps you clear on what you want to discard, donate, and sell. They make your next steps easier.
6.Review
You are now ready to review. The “possible toss-ables” that you thought were pretty easy to discard before are now super easy to discard. You’re off to a great start! Now move on the the rest, one category at a time. Just prioritize and do it fast. If you’re feeling like you should discard something, but you’re just not ready, then don’t. Just get clear on why you are keeping it and put it with the appropriate keep category. Then keep going with the easier decisions. Momentum makes magic. Don’t think where it goes yet. That will come next. When you have completely emptied the Review Zone you are ready to move on to the next stage.
7. Distribute
When you have completed your review, you are now looking at a clear scoreboard. Maybe you’ll see just two thirds in the Keep Zone. That’s a big win! For discards, donates, and sells, see my Downsizing Resources post. With an empty garage and a Keep Zone sorted by major categories you can start thinking about dedicated zones. In other words, what is the best way to distribute these categories in you garage? Ask yourself what categories make sense near the inside door and what make sense near the garage door? What items would you like to easily find at eye level? What items do you rarely use that can go on the top or bottom shelves? This is the perfect opportunity to rethink how your priorities have evolved.
8. Buy appropriate structures
Once you have worked out where things should go, now is the perfect time to consider your best structures. For example, For adults that rarely use bikes, the bikes can hang. But for kids who ride bikes every day, a bike stand on the floor makes more sense.
Yes, you can buy shelves, bins, and racks in advance of prioritizing, However you won’t be able to make the best choices on sizes and quantities until this moment. Definitely don’t start by stuffing items into bins before you have prioritized in a review. Part of our professional services is estimating what you will need and ordering it in advance. It’s hard to do this accurately without experience. It’s actually hard to do with experience. So be prepared not to finish an organizing project in a day. Alternatively, be prepared to return products that may be a bad fit or excessive.
9. Label
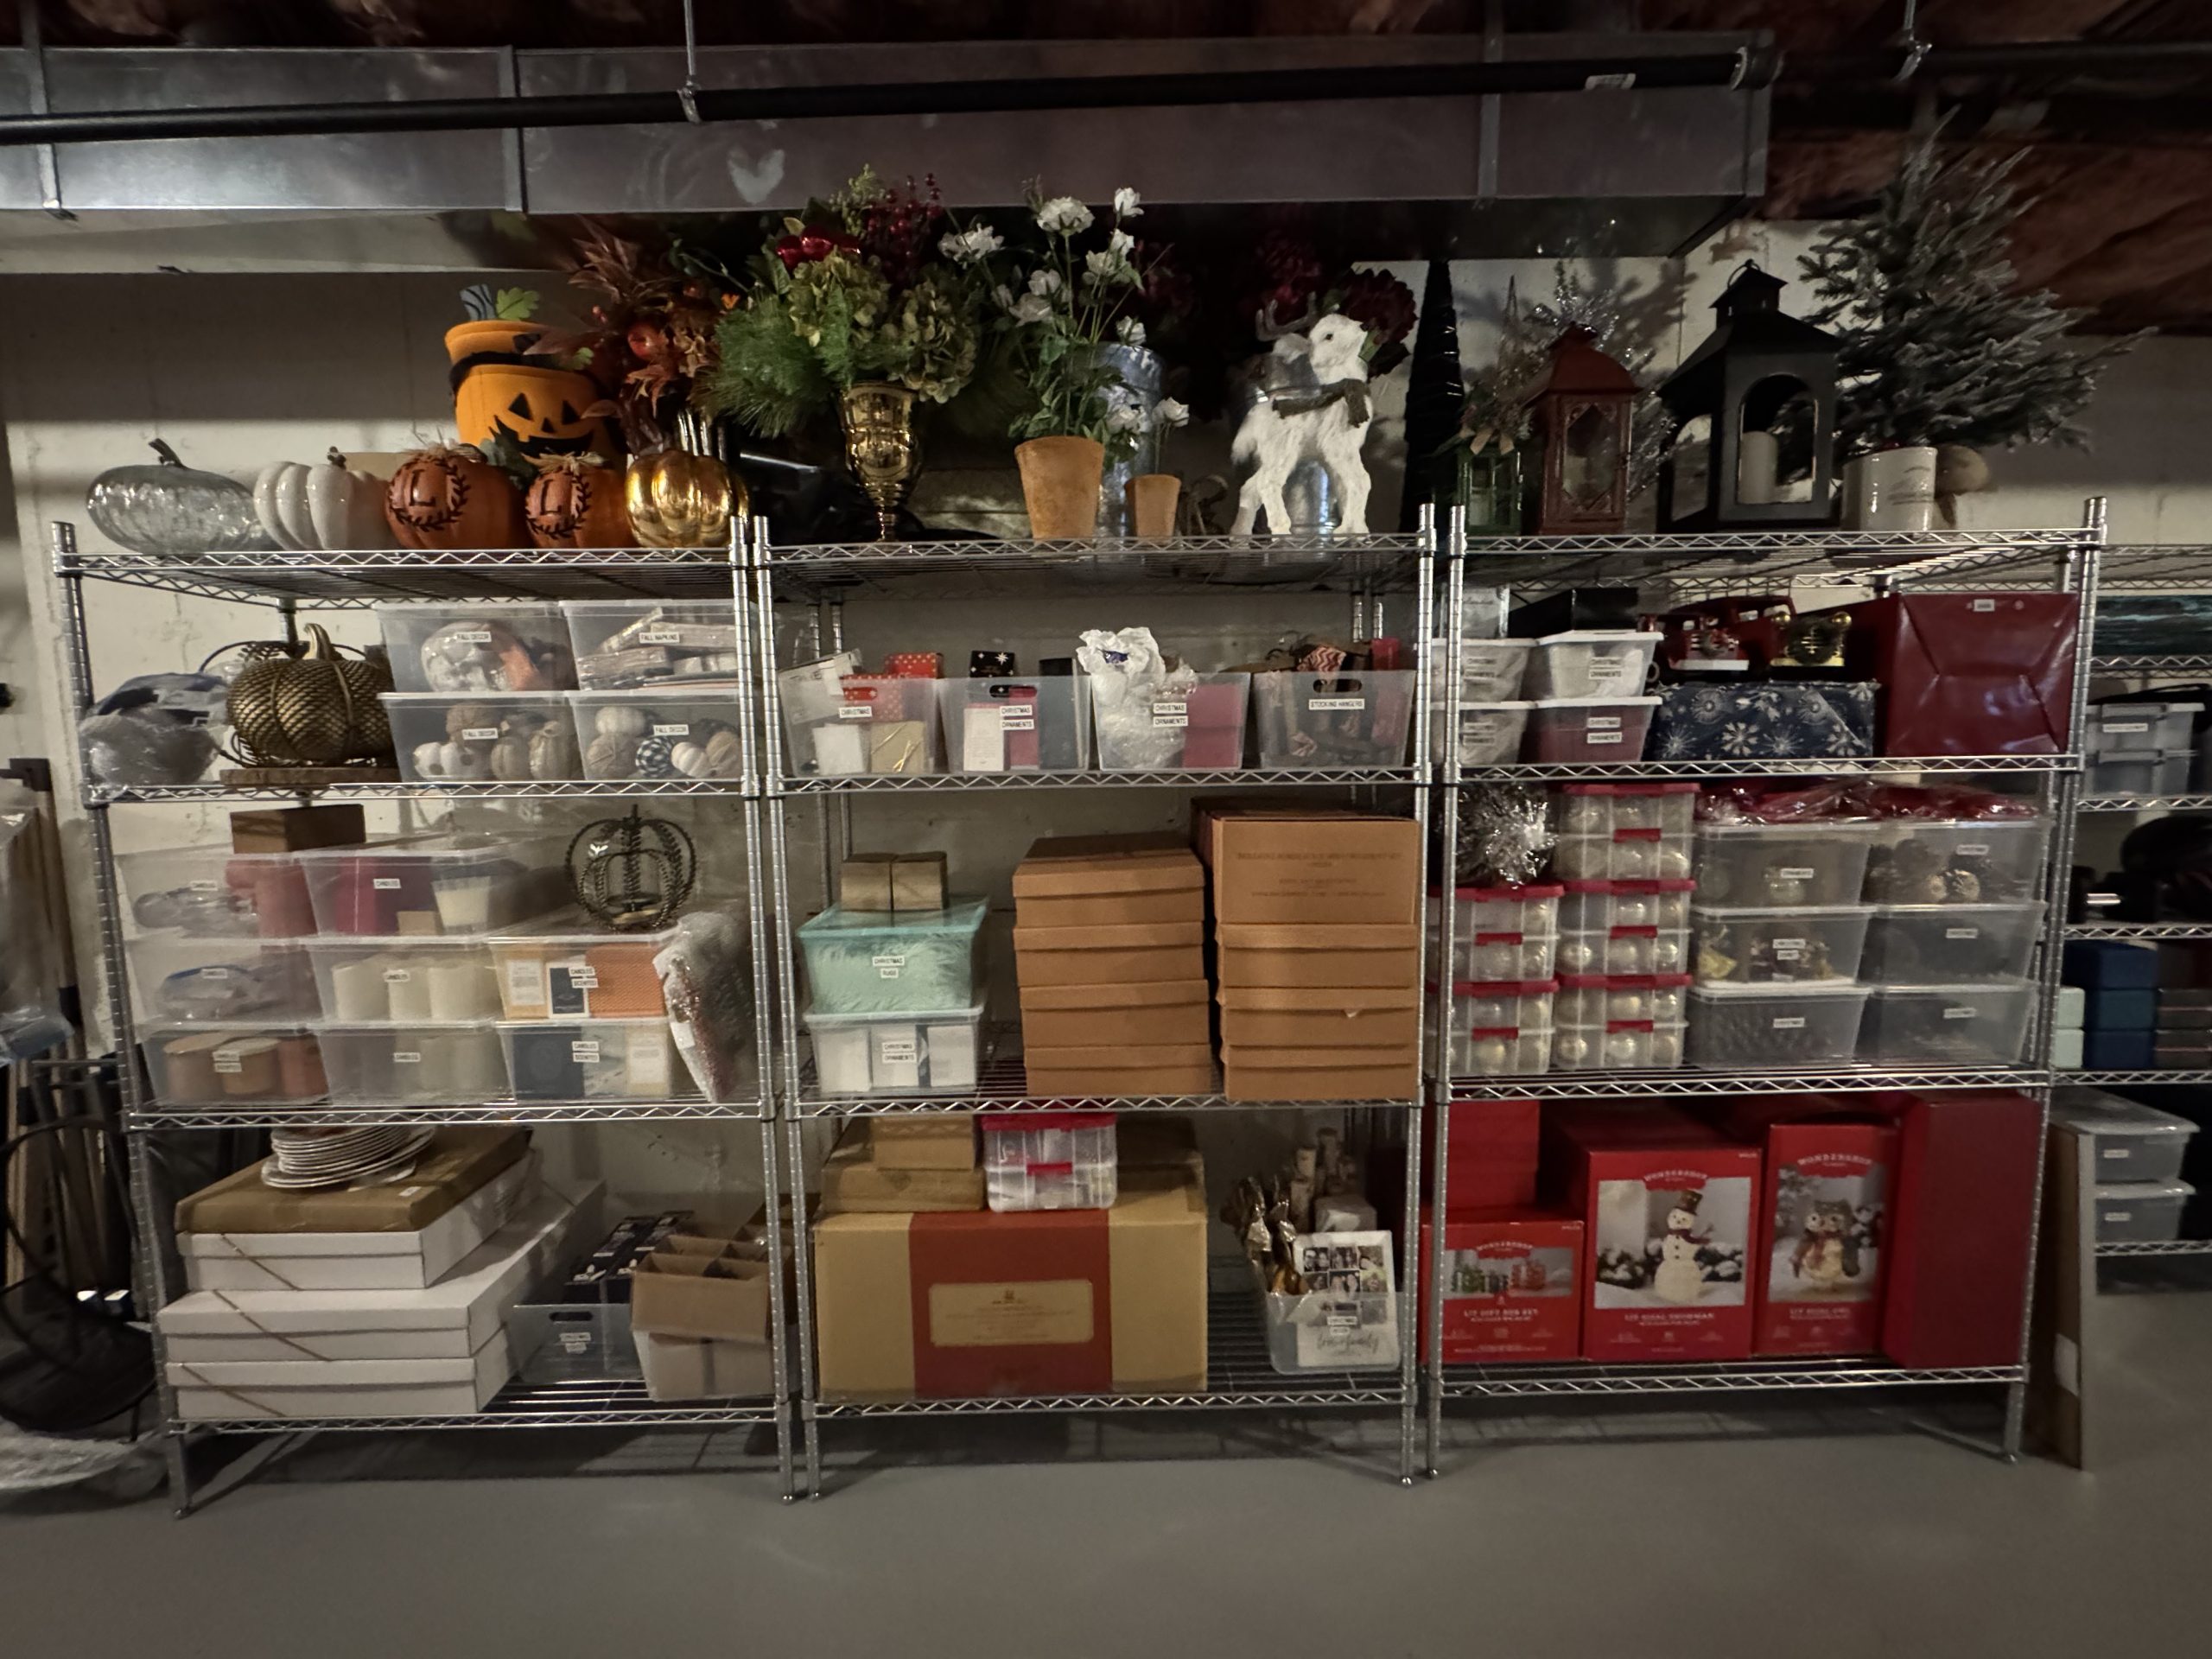
A final stage is to label storage bins. This helps ensure that the whole family is on the same page. We always recommend clear bins so you can see what is inside. Even so, it still makes sense to label them. If one wrong item gets in, the purpose can become unclear. Also, if you empty the bin, the label will remind you of its intended purpose. With labels you won’t just put things where they fit. You will put them where they belong.
10. Assess Needs
This step actually needs to come first, but the benefits are shown in the end of this video. Don’t look at organizing as an exercise to get rid of as much as possible. Instead look at it as an opportunity to update your priorities. Of course purging will be a part of that, but you can also bring some things in. In this case, what was important to the client was better storage space. She didn’t need to house a car. The gate went to the shed, but other items came from the shed. You may have noticed the balls and the chairs. Also, she was thrilled to open up space on the shelves by the door for “Costco Supplies.” Those include the big packs of paper towels and bathroom tissue. Before, she had to take a trip down to the basement to restock. Now, it’s just a quick step into the garage.
It seems more common for every family to have a “shedder” and a “keeper.” As “shedder” myself, I would encourage other shedders not to push the ‘keeper'” too hard. You will not change his or her tendencies in this process. However, you can focus on new solutions that benefit the both of you. Seeing just how much you have in each category in the Review Zone creates a clear scoreboard. You get a sense of your real priorities, in a way that you can’t when it’s all mixed up. For example, maybe you can now see that half your space is eaten up with old electronics. Then it becomes easier to see how much they interfere with more important categories. Now it’s easier to be decisive and let go of some of that interference. So let that scoreboard be the goal, not a perfect purge. There will be other occasions to reprioritize.
Please Share With Your Community


Related Posts


Testimonials
What some of our clients are saying

