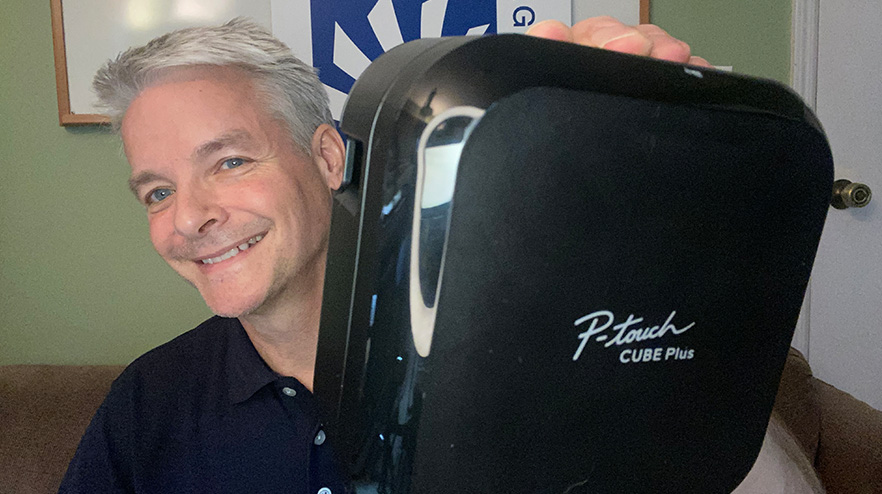
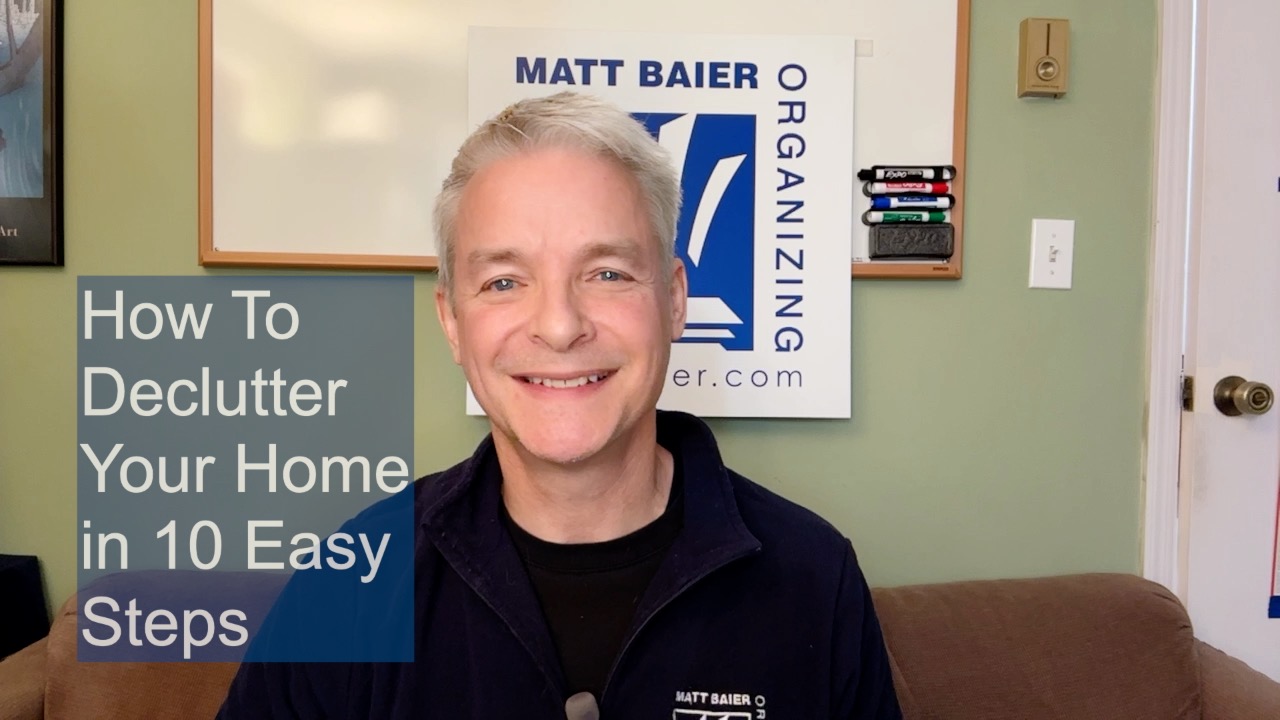
Today’s post is a Brother P-Touch Cube Plus product review. Brother P-Touch is a game-changer for professional organizers (and other people who label a lot) for several reasons.
First and foremost, you can save your most commonly used labels. This saves you time because you never have to type out that label again. Second, you can set your Cube to quickly print out multiple labels at once. This also saves time. And third, you can print out a wide variety of fonts and images.
Components and Parts
So, let’s take a look at the components and parts. Inside the box there’s the unit itself, two 24mm cartridges, and a charging cord. You can’t do anything until the battery is charged, so I would ignore the instructions here and start charging right away. There is a protective sheet that you will need to pull out before you can charge your battery.
You need the power LED to turn green. The power button is on the top, and the tape exit slot is on the left-hand side. That’s pretty much it for external parts. No keypad this time! Use the tape exit slot to open the cassette cover, and pop the cassette in, close the case, and press the power button.
Mobile Phone Instructions
Next, you need to download the app from the App Store or Google Play. You can go straight to it by framing a photo of the QR code on the left-hand side, and then pressing on the link in yellow. Download the app and open it. You will be given the opportunity to register your machine, which is worth doing. Just follow the onscreen instructions. When it asks for your serial number, open the cover, pull out the tape, and you will find it underneath.
Next you will need to pair your label printer with your mobile device. Go to your settings and make sure your Blue Tooth is set to “ON”. Then click on it and look for your P-Touch device, starting with PT and ending in the last 4 digits of your serial number. If you don’t see it, be sure your printer is turned on. When you see your printer show up under Blue Tooth, click on it and it should say “connected” next to it.
On your mobile device you will see four tabs at the bottom. The first one, the home tab, shows an array of all your design options for every room in your house. At the bottom of the page, you have the option to create your own label. This is where you will see the same options you will be familiar with on a traditional P-touch labeler.
The second tab collects your saved labels and print history. This is the part that can save you a lot of time. The third tab is for settings, none of which I have found useful. The final tab is for shopping Brother products.
Label Printing
Return to the first tab and see if any of the pre-designed labels suit your needs. For example, I don’t have kids that need keepsake storage, but I do have a dog that needs pet food storage, so I can use the pet food pre-existing label. I don’t really need the level of description given, but hey, it’s fun!
To create your own label, simply go to the bottom of the home tab and click on “create your own label.” Tap on “text” and the keyboard will come up. Start typing your label and notice how the “font” choice comes up. It’s very small. I kept missing it at first. Tap on it and you will see a wide variety of fonts, styles, and sizes to choose from.
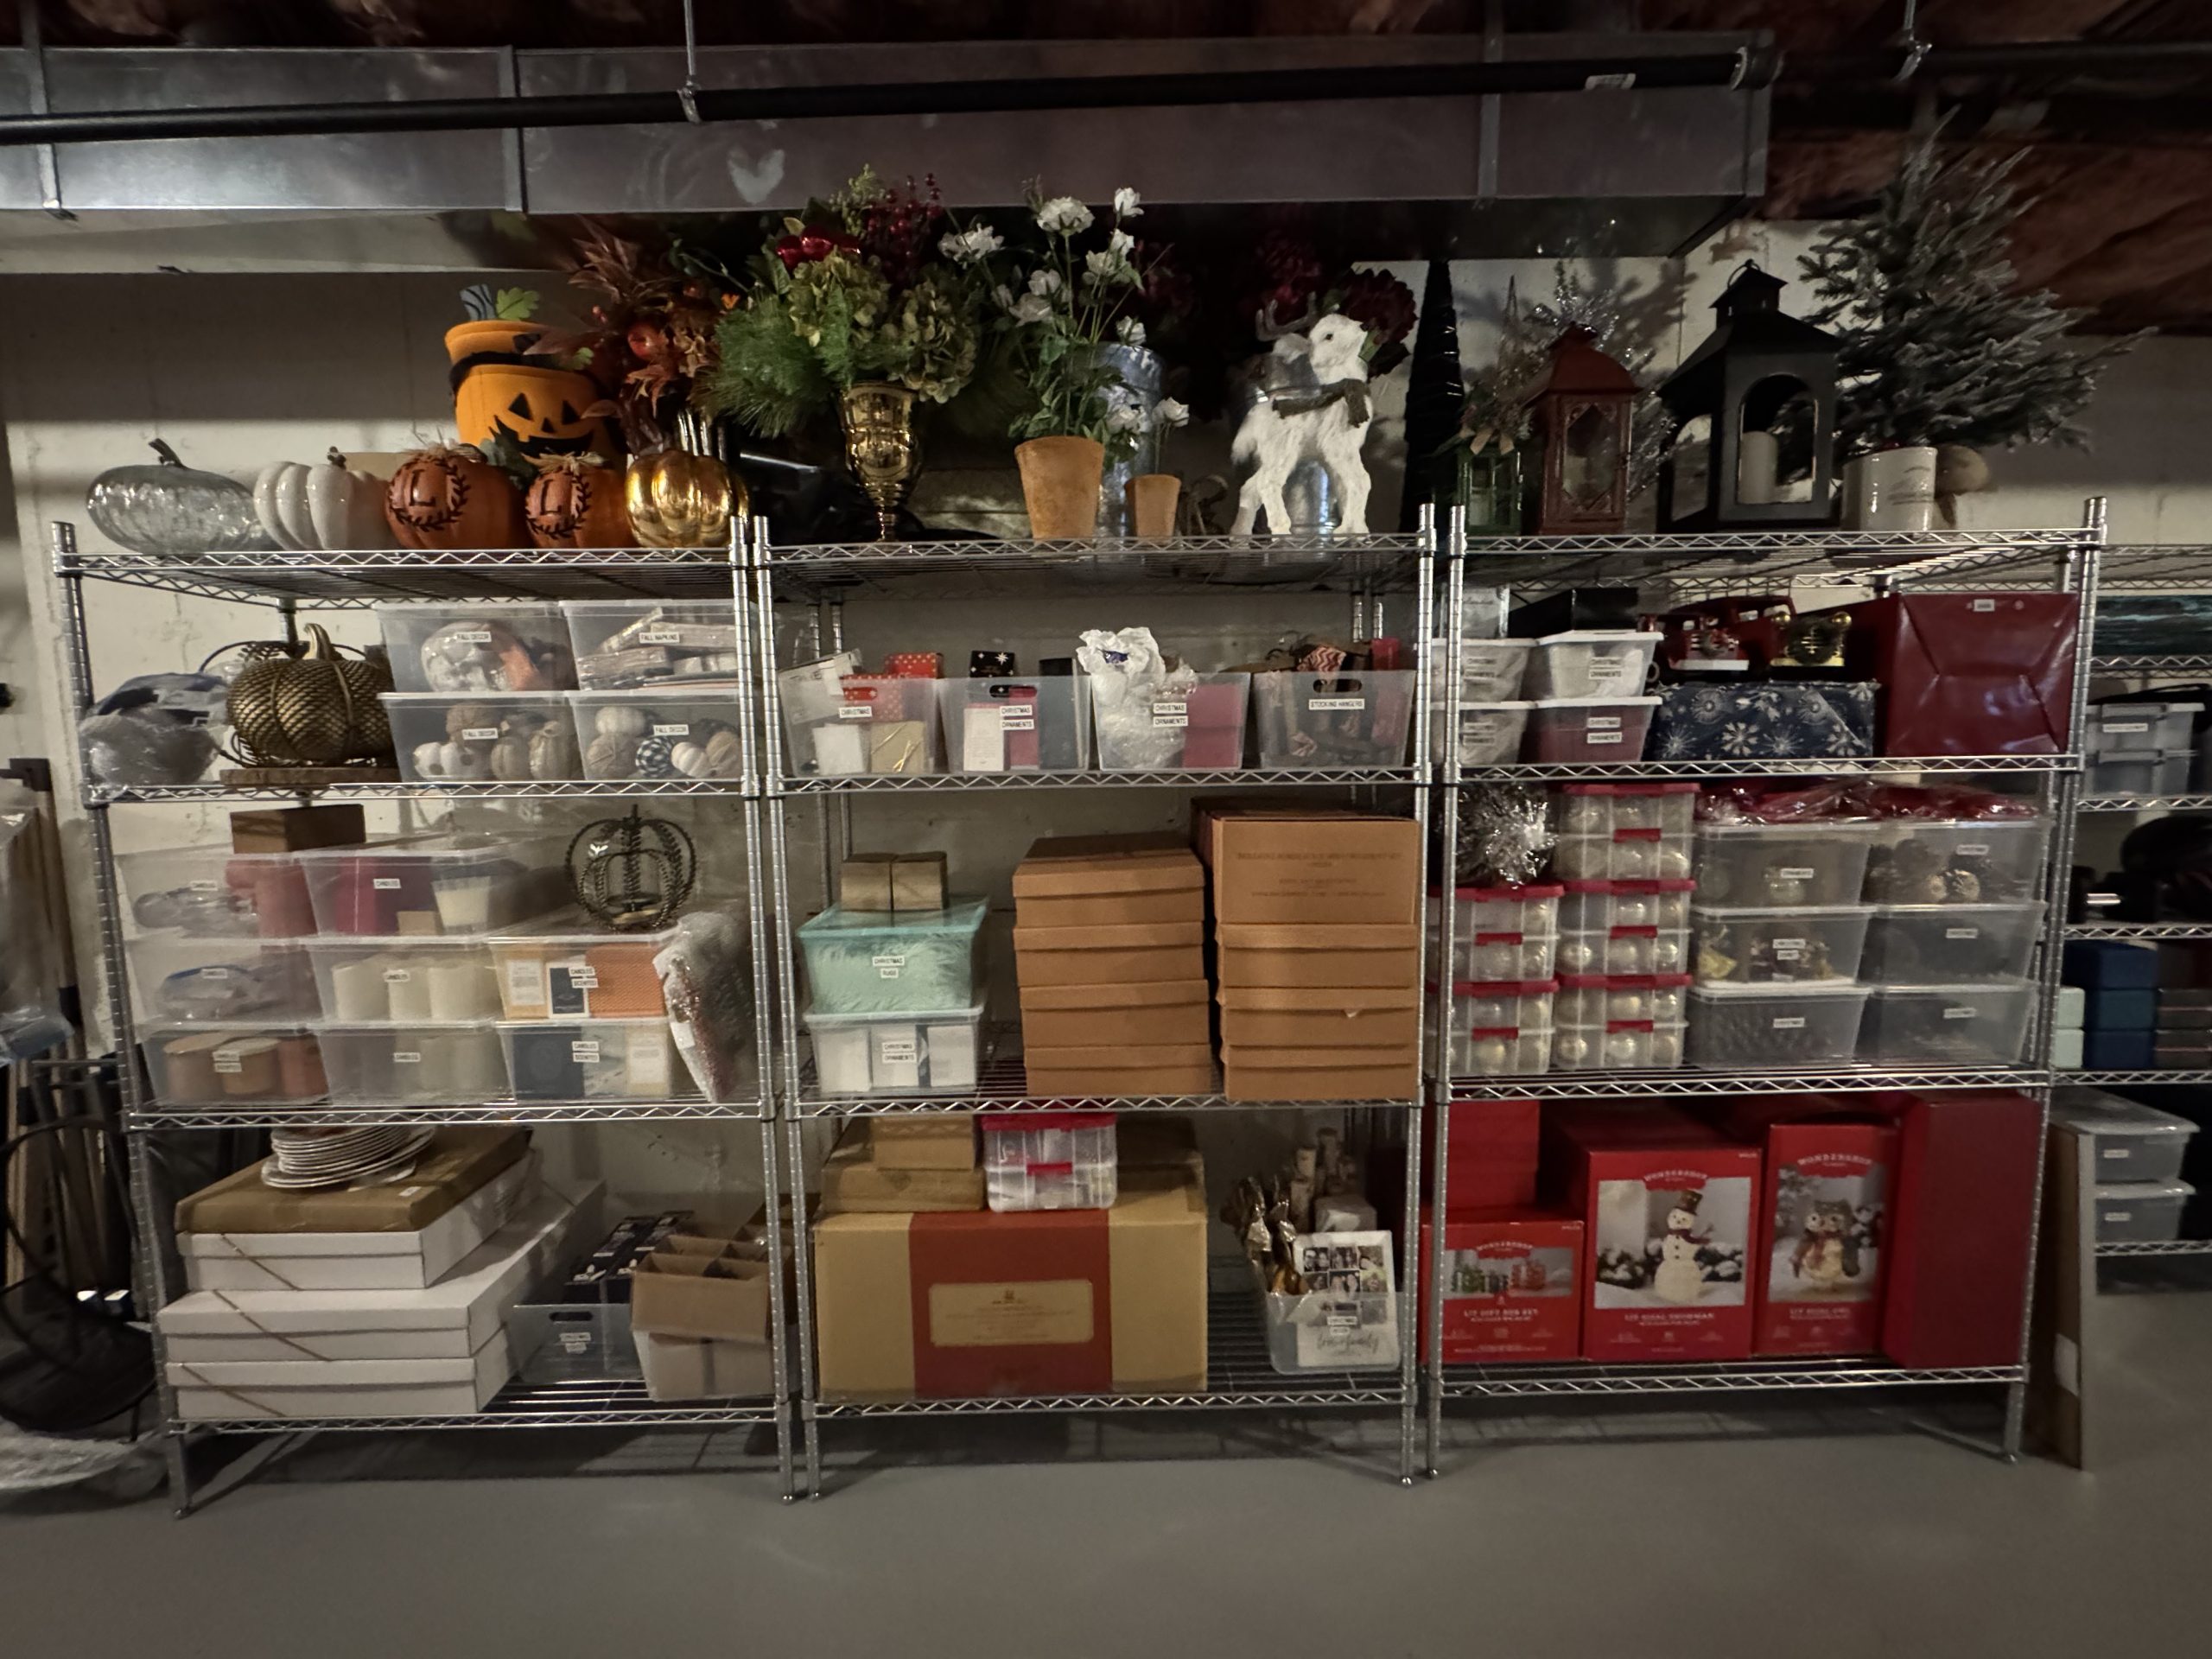
I quite like the Euphemia font for kitchen and pantry containers. I also like bold, italic, 40 point, justified center with white on black tape, 2.5 inches long, and no frame. I would put it on the 0.70 inch tape in a horizontal direction, but there is also the vertical option. You can also center it here. Now simply hit “print.” Be sure your printer is on and that it is paired with your mobile device through Blue Tooth. To print multiple labels, you can enter four, and it will automatically print four labels.
Time Savings
The cube printer saves you time on retyping, trimming, and cutting. As I see it, the greatest advantage of the cube printer is the ability to save time. There is, however, a great risk of time loss which comes from the wide variety of features and choices of fonts and images.
For this reason, my team will continue to use the Helvetica, all caps, no frame, option for most labels, unless otherwise requested. Our clients love it when we can do the decluttering, set up organizing systems, AND do the labeling all in one day. So, we are always looking at every detail possible to make that happen.
Here is an example. If we are printing out multiple Keepsakes labels on the cube, we can simultaneously print out individual family names on the traditional P-touch labeler. These would then go under the Keepsakes logo, in the same Helvetica caps, to maintain speed and consistency. I think we will keep a collection of content descriptions in the Euphemia font, bold, italic for kitchen labels, so there is some difference there.
Otherwise, I’m keeping to the Sherrilyn Kenyon adage, “just because you can, doesn’t mean you should.” And as I’m always saying, you have to “prioritize to organize.” Our business model is built on momentum, focus, and completion in a day. I expect the Brother P-Touch Cube Plus will help us further refine our process to this end. And if you’ve got a lot of labels to print, I highly recommend this product!
If you have some experience with the Brother P-Touch Cube Plus, I’d love to hear about it!
Please Share With Your Community


Related Posts


Testimonials
What some of our clients are saying

